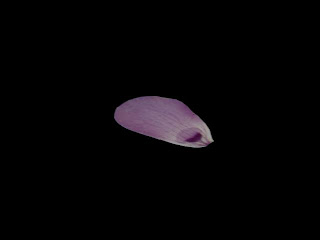
I then created a plane and increased the number of length and width segments to 30, this would allow me to shape the petals. Using the material editor I mapped the image of the petal around the object of the plane. However there was white showing around the leaf, so I had to go back to the base level of the material and locate the black and white image (above).
I then had to ensure the leaf looked more realistic by adding more texture using the bump map. I selected the original image of the petal and increased the bump to around 130. Then I had to apply the petal to the plane by dragging it across.
 I then wanted to clone the petal so it appeared as a flower. Clicking on the hierarchy button, then affect pivot only this enabled the petals to move round the center of rotation. To clone the petal I held down shift and chose to have 8 clones. This then produced the flower.
After I wanted to make the flower look more realistic by modifying the petals so they did not appear exactly the same. This also helped the flower to look more realistic. By using the modify button, I then clicked edit poly and right clicked on the petal. Using the move button I was able to drag the x and y axis until I was satisfied with how it looked.


No comments:
Post a Comment