
Wednesday, 9 December 2009
Envelope Ideas

Monday, 7 December 2009
Evaluation of my work
My initial 3 designs are completely different from the final 3 I have produced. This is definately due to my lack of experience and I think I set my sights too high for what I wanted to achieve. Now I am more familiar with the software I feel I could build the three animals but this would take me quite a bit of time as my final 3 stamps took me a while to build. I am pleased with the leaf theme that I chose and I think the flower, ladybird and butterfly work well with them as a background. As a whole I am pleased with my progress and feel that I have learnt a lot from this assignment and I look foward to futhering my 3D design skills in the next project.
My Final 3 Stamps
Friday, 4 December 2009
Progress Update
Thursday, 3 December 2009
Butterfly
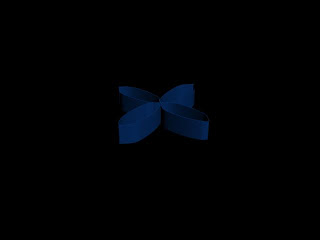
The image shows the wings that I created using the symmetry modifyer.

Stamp Idea 3: Butterfly
Ladybird
My ladybird is almost complete all I need to do is create a stripe down the back of the shell and find a position on the leaf I am happy with.

Thursday, 19 November 2009
Ladybird
After doing some research I decided to start modelling my second idea which is a ladybird. I started by creating a sphere and changing the hemisphere to 0.5 to cut the shape in half. I then change the amount of polys in the sphere making it easier to work with. After this I edited the mesh to push the top 2 vertexes inwards creating a heart shape for its body. By switching views from edit poly and curve edges I was able to see what the finished shape will look like. I then created a box to act as the ladybirds head. I put a line in the middle of it so it was centred and then I was able to pull the edges out using the same method as I did for the body to create a curve edge. In the final stage of creating the body I had to draw another box and edited the mesh to make it curved.
The image above shows the shape of the body.

The above image shows the completed shape of the ladybirds body.

In the final stage I had to created its legs. I used one of the antenna I had already created and clicked the element button and then detached them so I could clone one to use for its legs. After cloning each leg I used the top view to carefully put them in place.
The below image shows the completed ladybird.
Thursday, 12 November 2009
Stamp 2: Ladybird
Flower

Flower
Once I had created the sphere I wanted to change the colour and texture so it looked more realistic and blended in with the rest of the petals. I opened the material editor and clicked on the noise button to give it some bumps so it was not a solid colour. I then changed the two colors, the first one I made a dark purple and the second a lighter one so they contrasted each other. I then applied the settings and played around with it until I satisfied that it looked like a flower.

The image below shows the middle part of the flower a cream color, this was when I was experimenting with the different colours it could be. As you can see the flower is really starting to take shape.
Thursday, 5 November 2009
SWOT Analysis
Strengths
I feel my strengths so far have been researching different animals and ideas to use on my stamps. I have created mood boards and completed a write up of each animal I initially chose.
Weaknesses
I feel my weaknesses lie in using the software. Having had some practise and using the tutorials as guides to get to know how it works, I still do not feel confident enough to actually build the stamps.
Opportunities
I feel that I have a lot to learn and can benefit from using the software. I just need to be patient and work through the tutorials and also use the internet to research different methods. There is definately a lot to learn and I can use this software in the future.
Threat
As I joined this class late, I am worried that I am really behind compared to everyone else. However, I just need to keep working with the software to familiarise myself with it so I feel more confident and catch up to the same stage that everyone else is at.
Flower

I then created a plane and increased the number of length and width segments to 30, this would allow me to shape the petals. Using the material editor I mapped the image of the petal around the object of the plane. However there was white showing around the leaf, so I had to go back to the base level of the material and locate the black and white image (above).
I then had to ensure the leaf looked more realistic by adding more texture using the bump map. I selected the original image of the petal and increased the bump to around 130. Then I had to apply the petal to the plane by dragging it across.
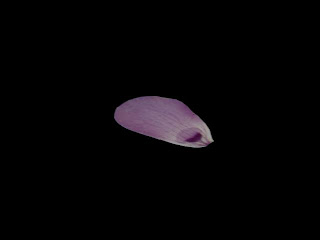 I then wanted to clone the petal so it appeared as a flower. Clicking on the hierarchy button, then affect pivot only this enabled the petals to move round the center of rotation. To clone the petal I held down shift and chose to have 8 clones. This then produced the flower.
After I wanted to make the flower look more realistic by modifying the petals so they did not appear exactly the same. This also helped the flower to look more realistic. By using the modify button, I then clicked edit poly and right clicked on the petal. Using the move button I was able to drag the x and y axis until I was satisfied with how it looked.
Design Stage
Monday, 2 November 2009
Moodboard: Endangered Animals

Thursday, 29 October 2009
Intro to Lighting in 3D S Max
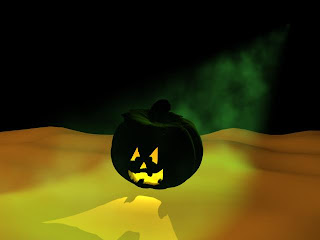
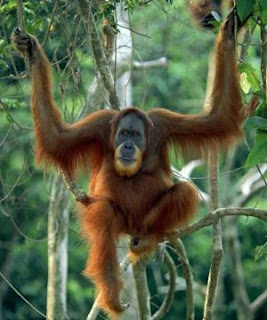
3rd Stamp Idea: Sumatran Orangutan
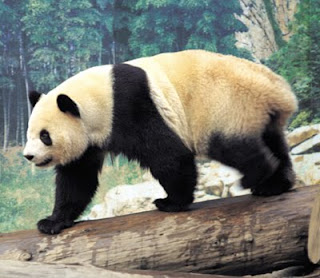
2nd Stamp Idea: Giant Panda
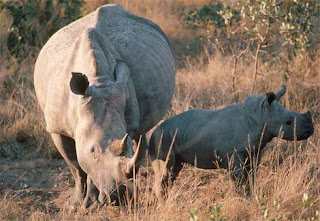
1st Stamp Idea: White Rhino
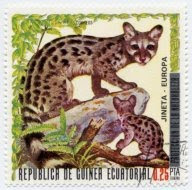
Examples of Animal Stamps


Monday, 26 October 2009
Modelling from shapes in 3D Studio Max
Making Leaves Using Mapping Techniques
I saved a screen shot of the leaf. This is the final stage of creating the leaf, during this stage I played around with the toggles so it does not appear flat experimenting with different styles.
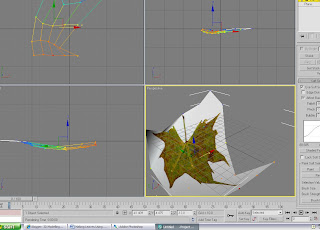
This image below shows my finished leaf after I have experimented with it being dragging out the vertices to shape it.

Biodiversity Mood Board


